Posts tagged Calligraphy
Free Calligraphy gift tags

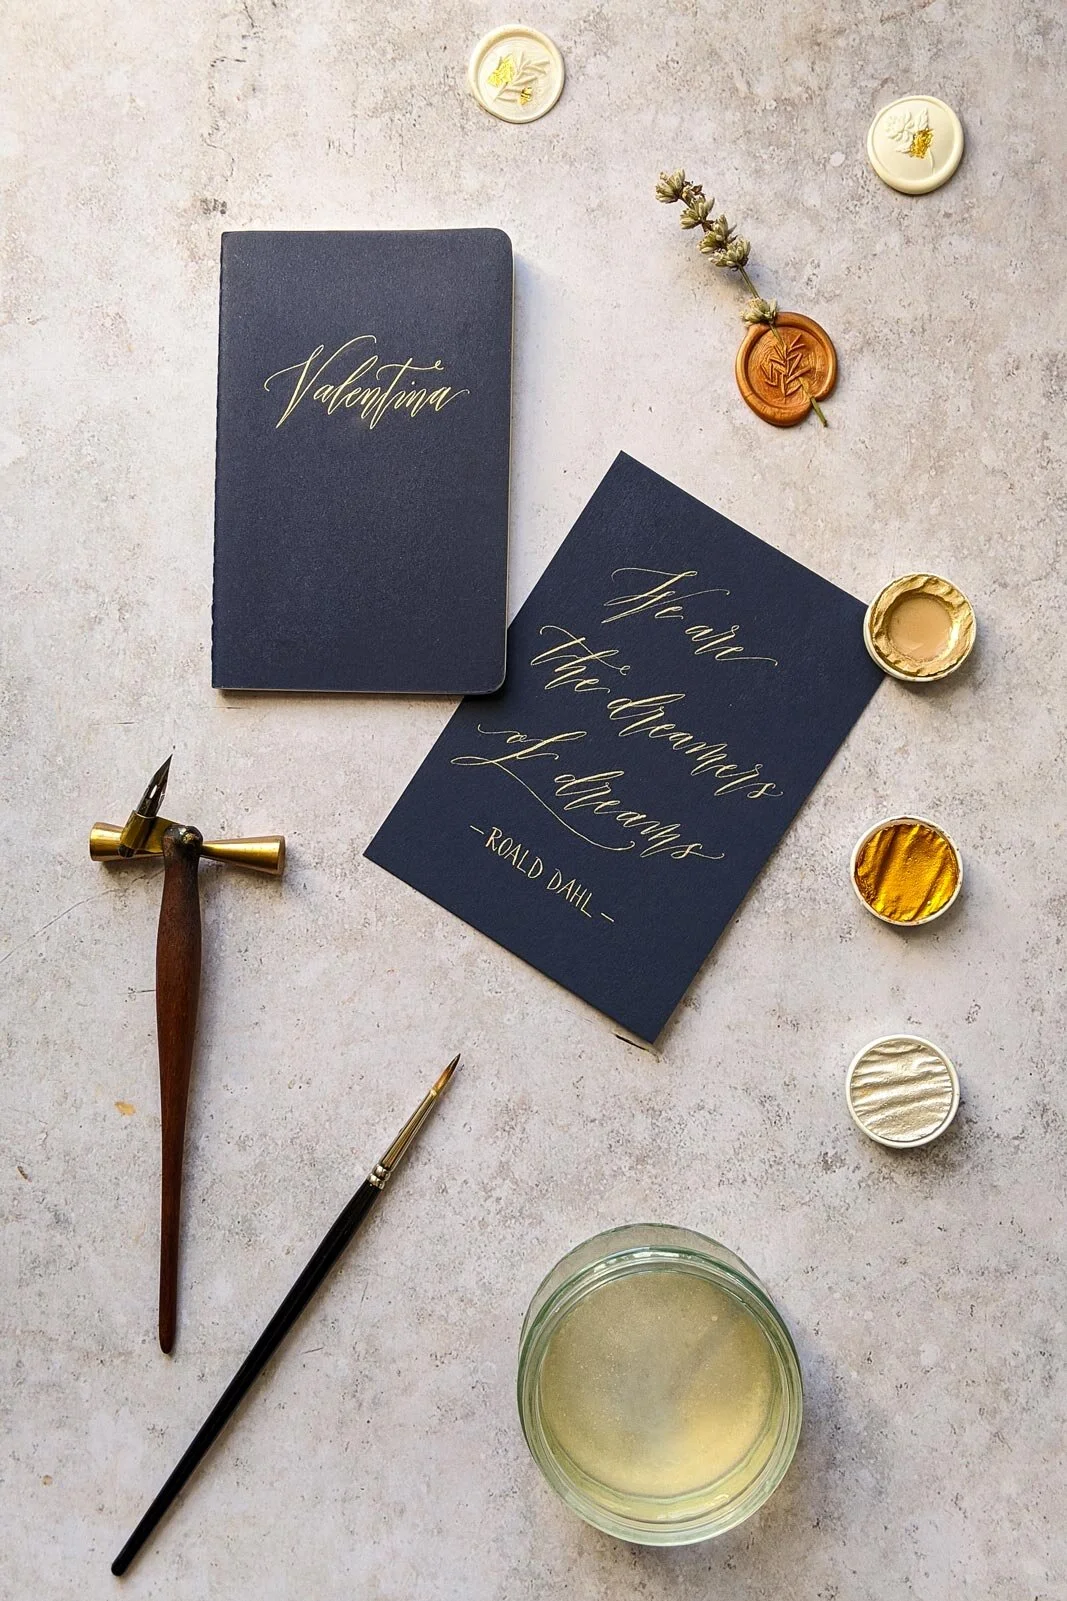
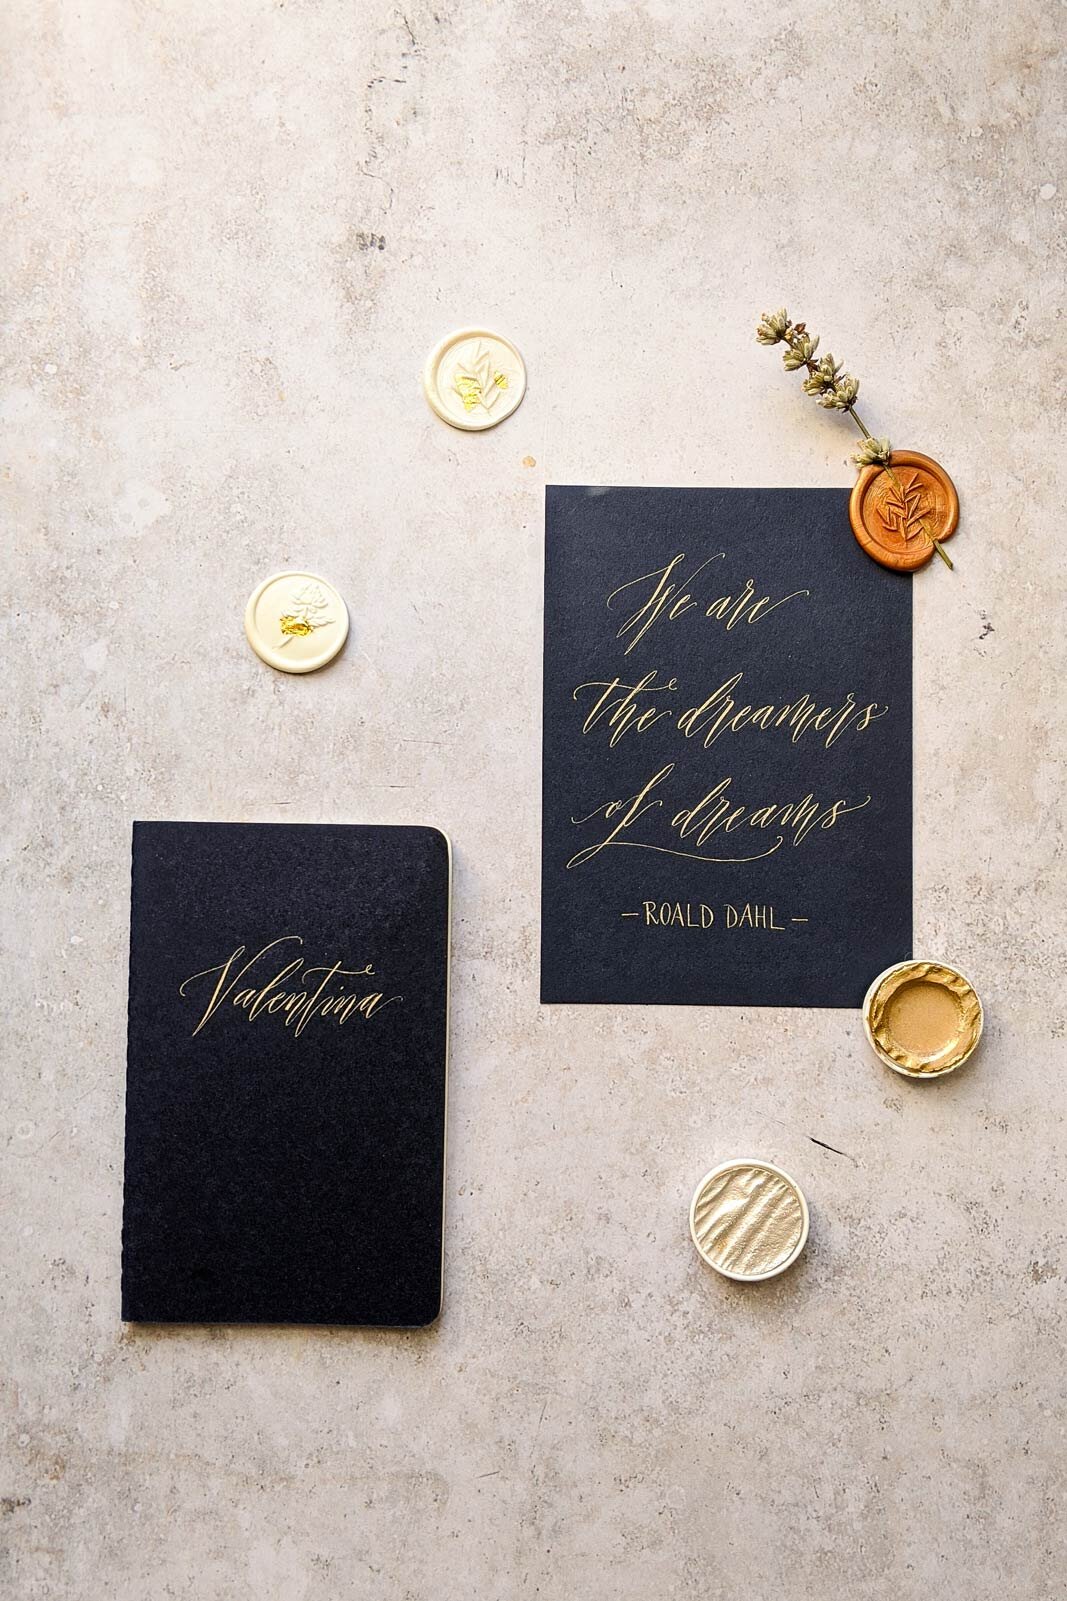
I just love this time of the year! I have so many beautiful memories from past Christmases, especially around creative crafts with my mum and sister and gift-giving.

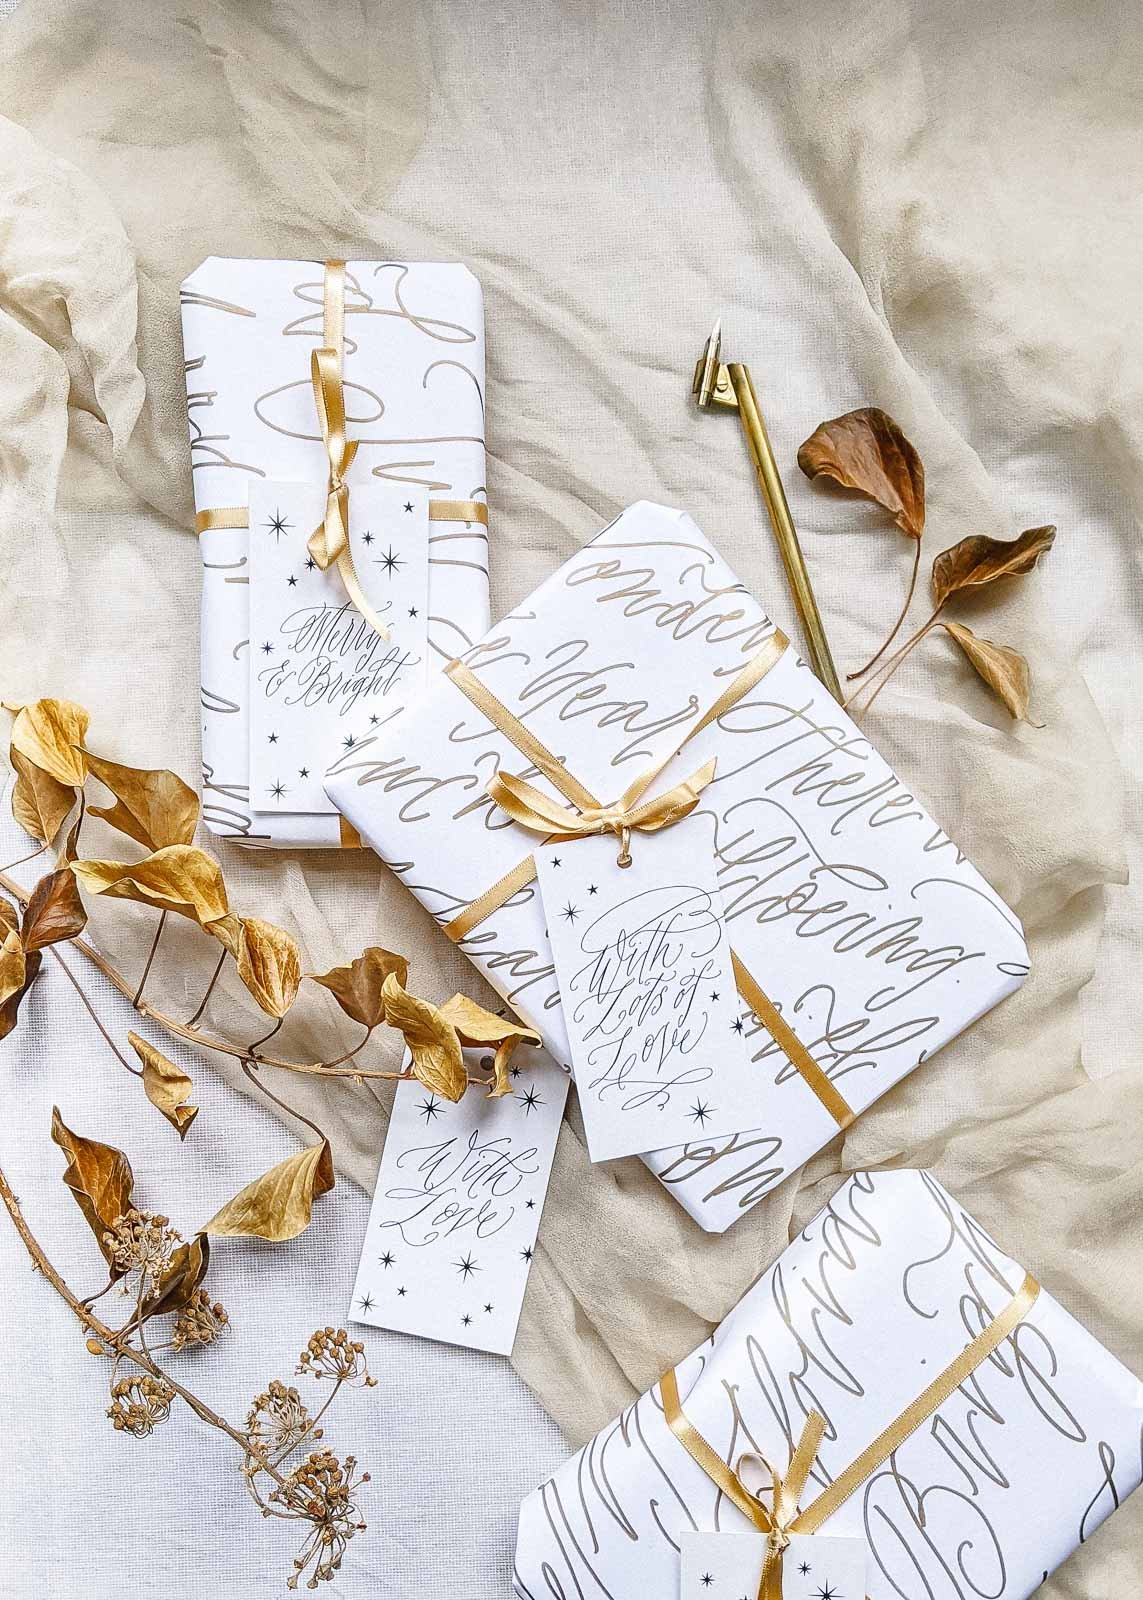
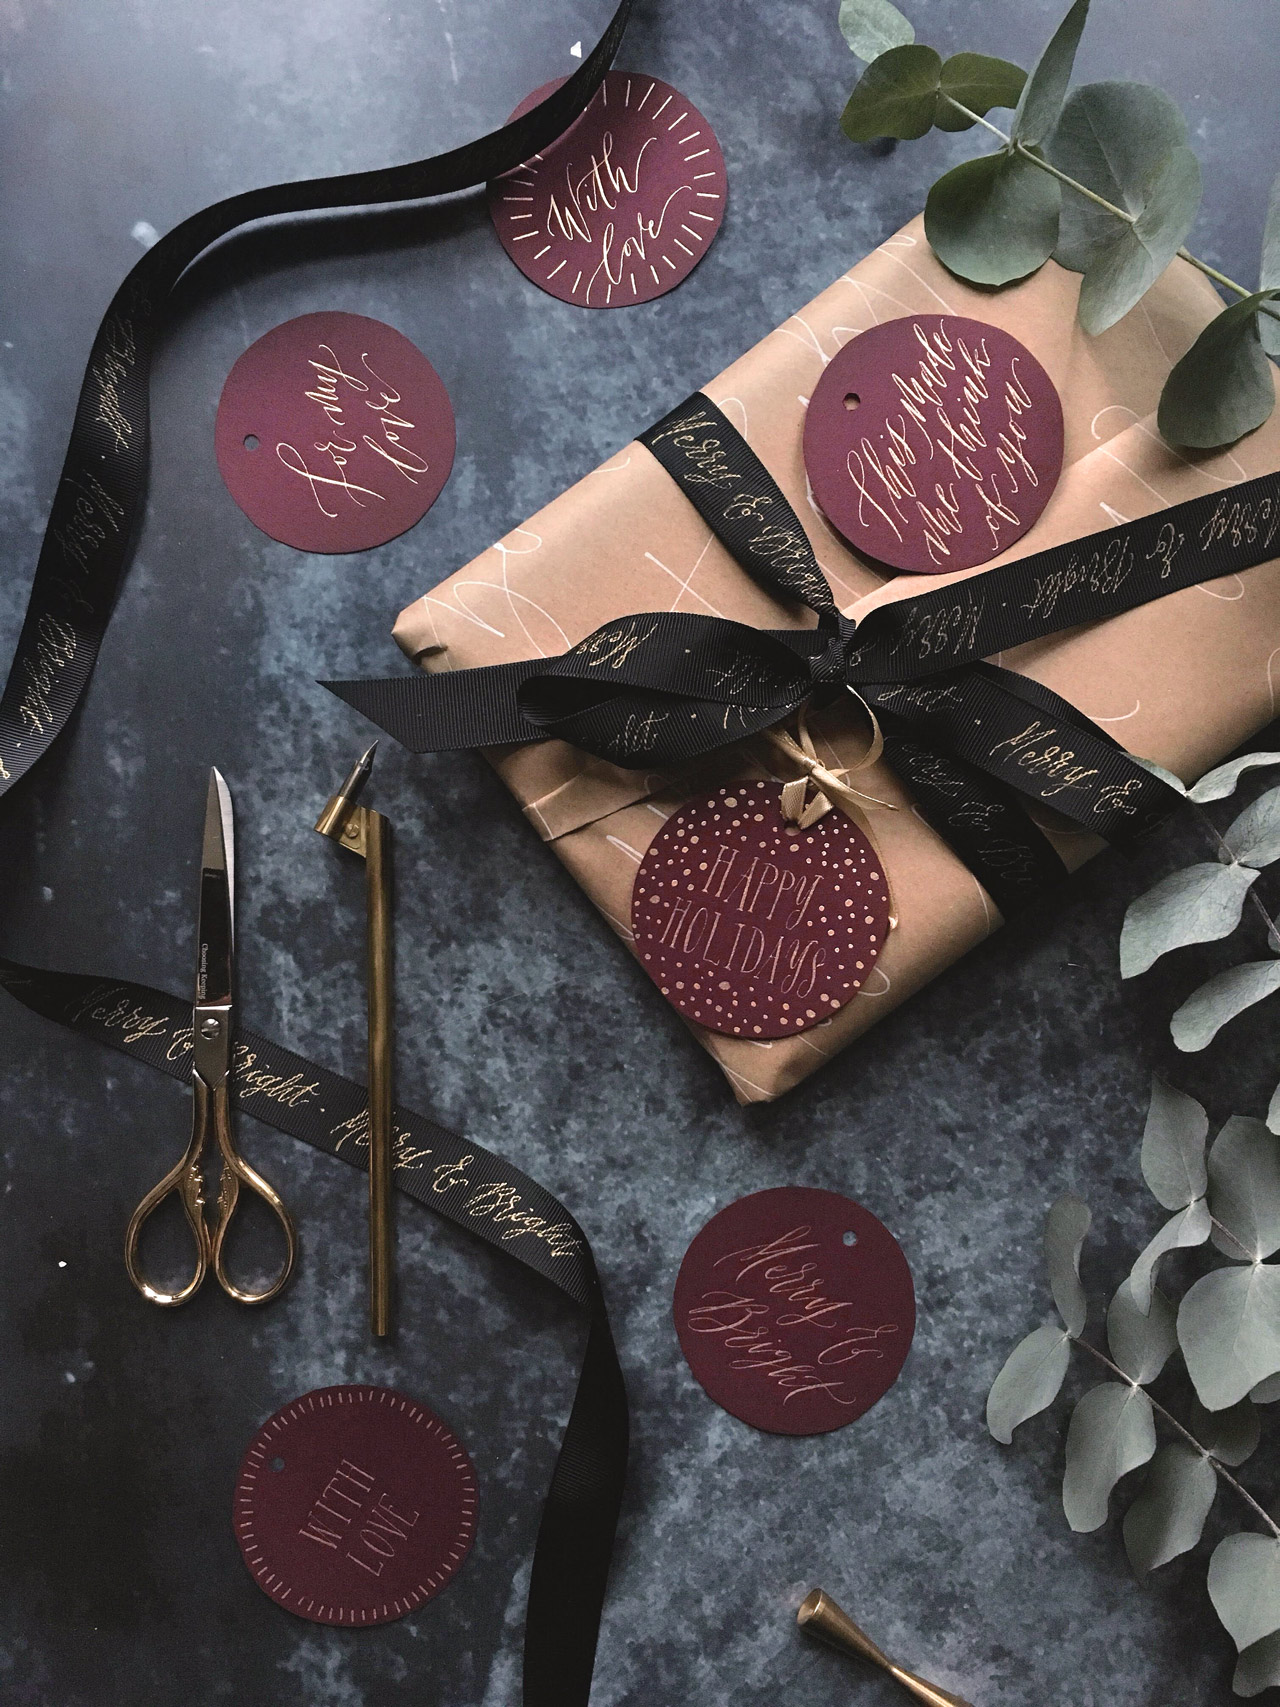
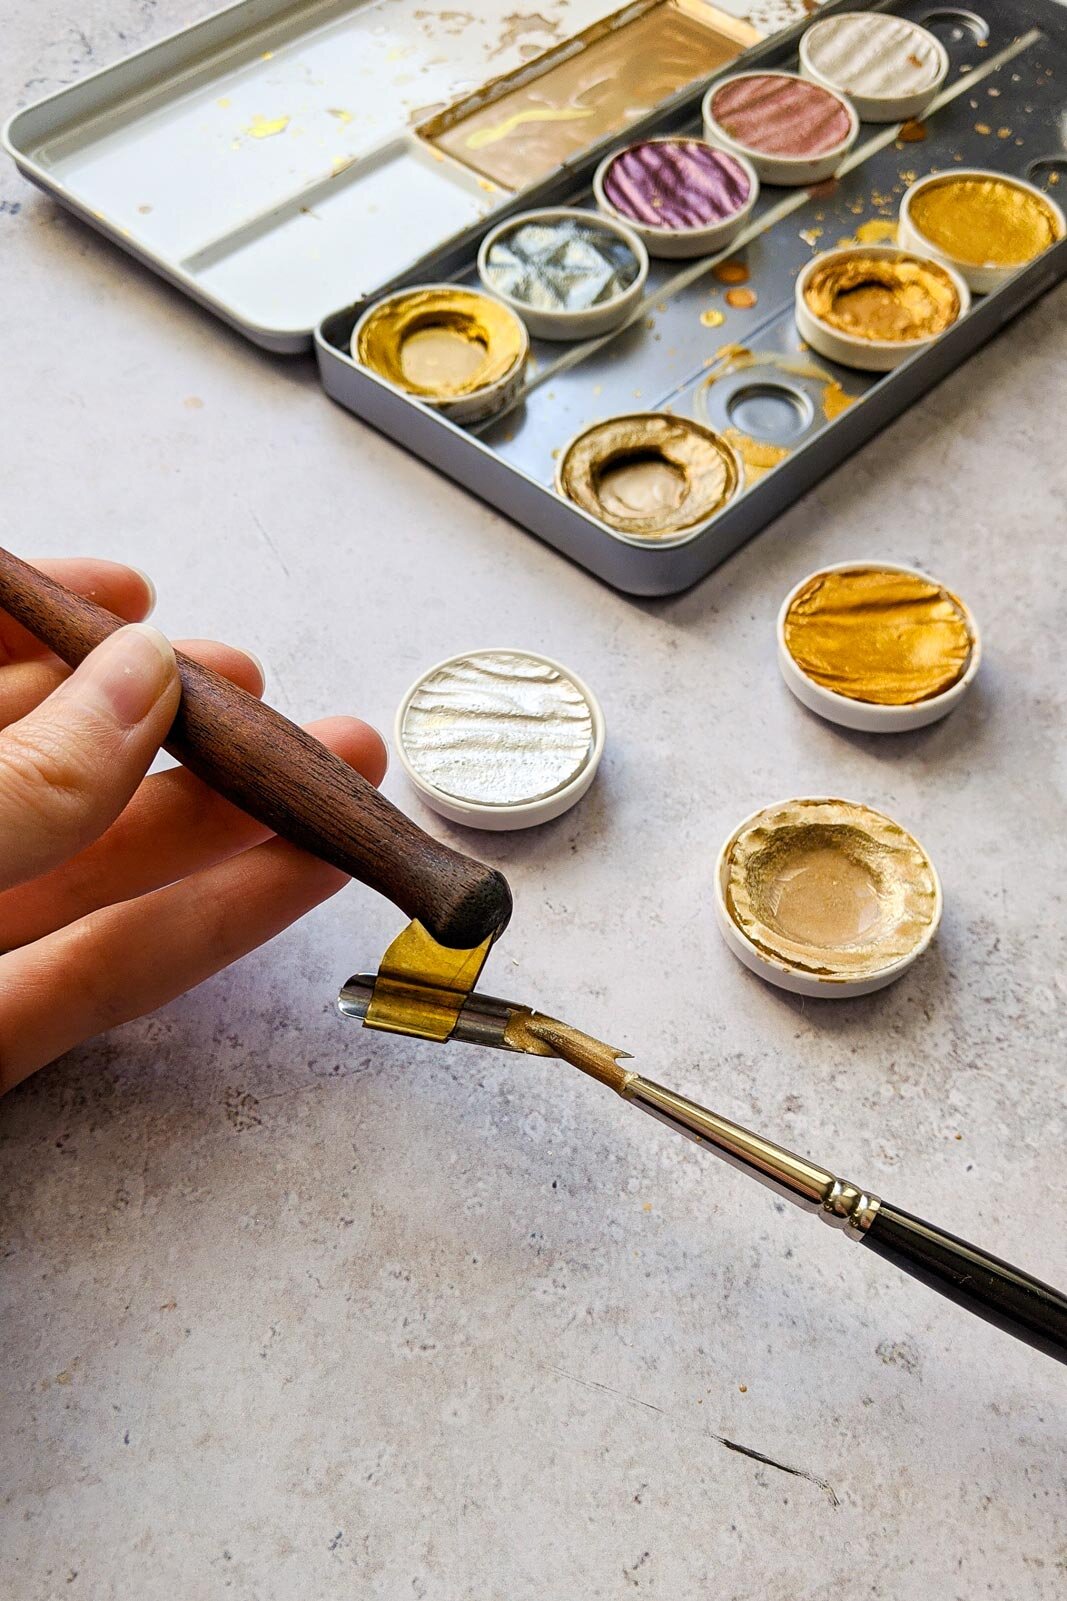
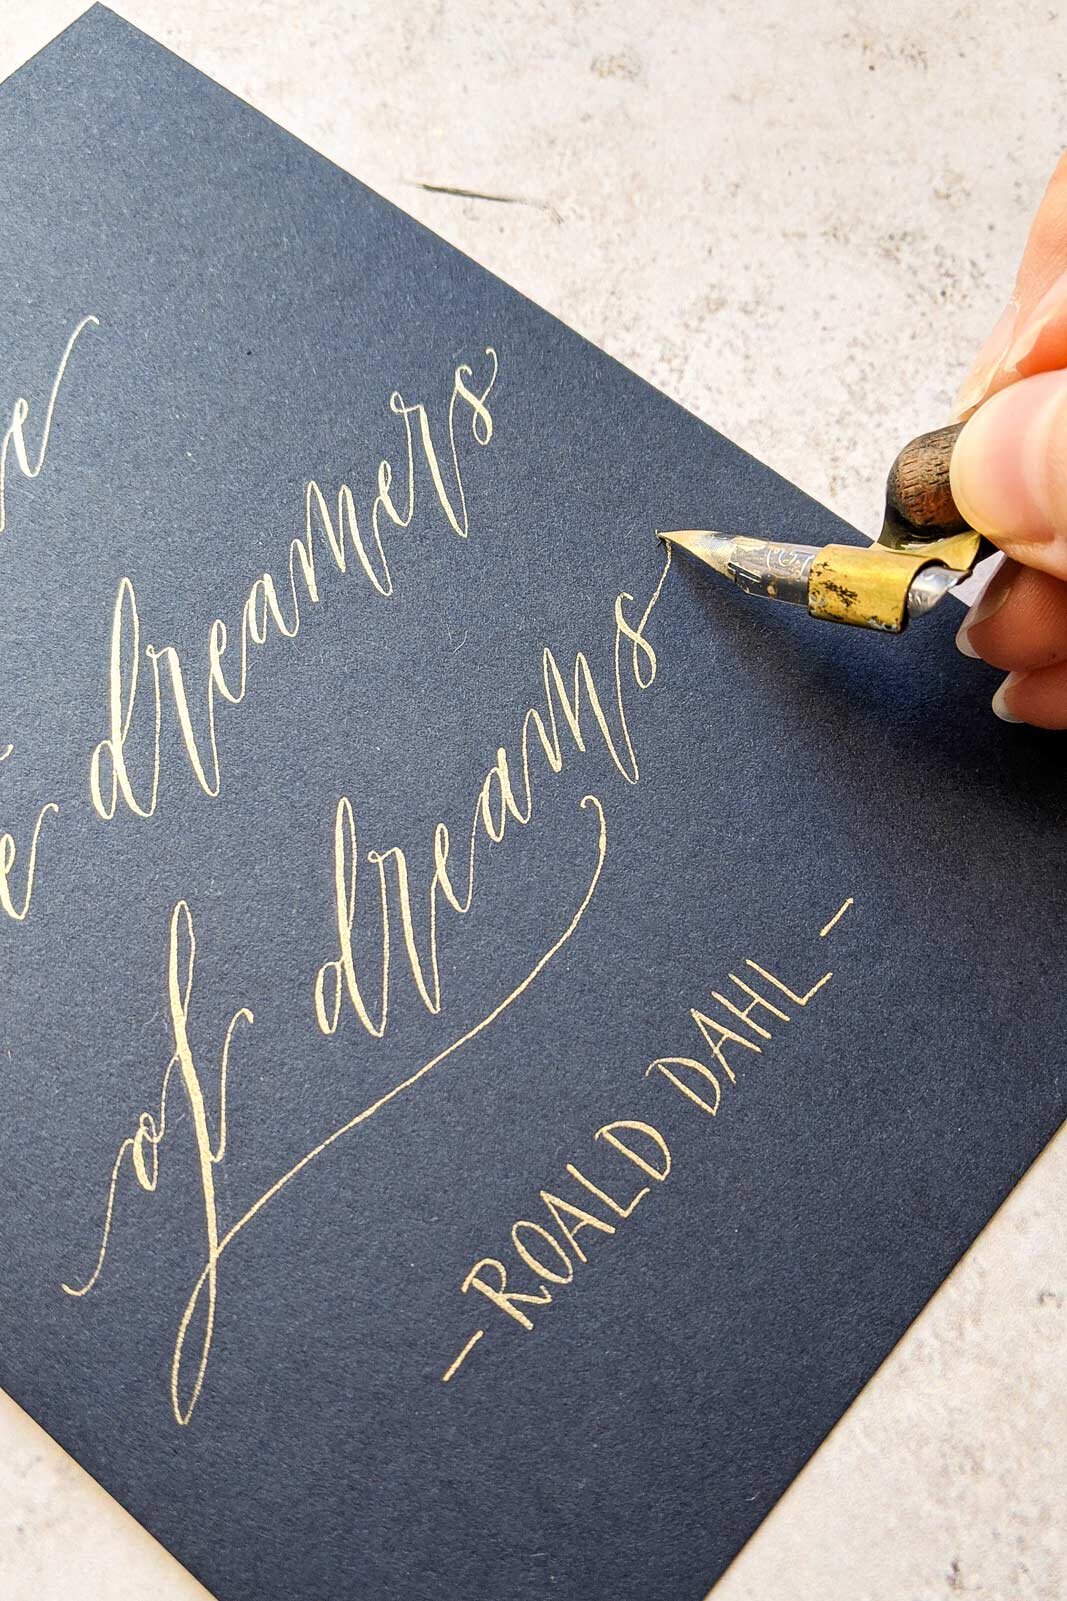
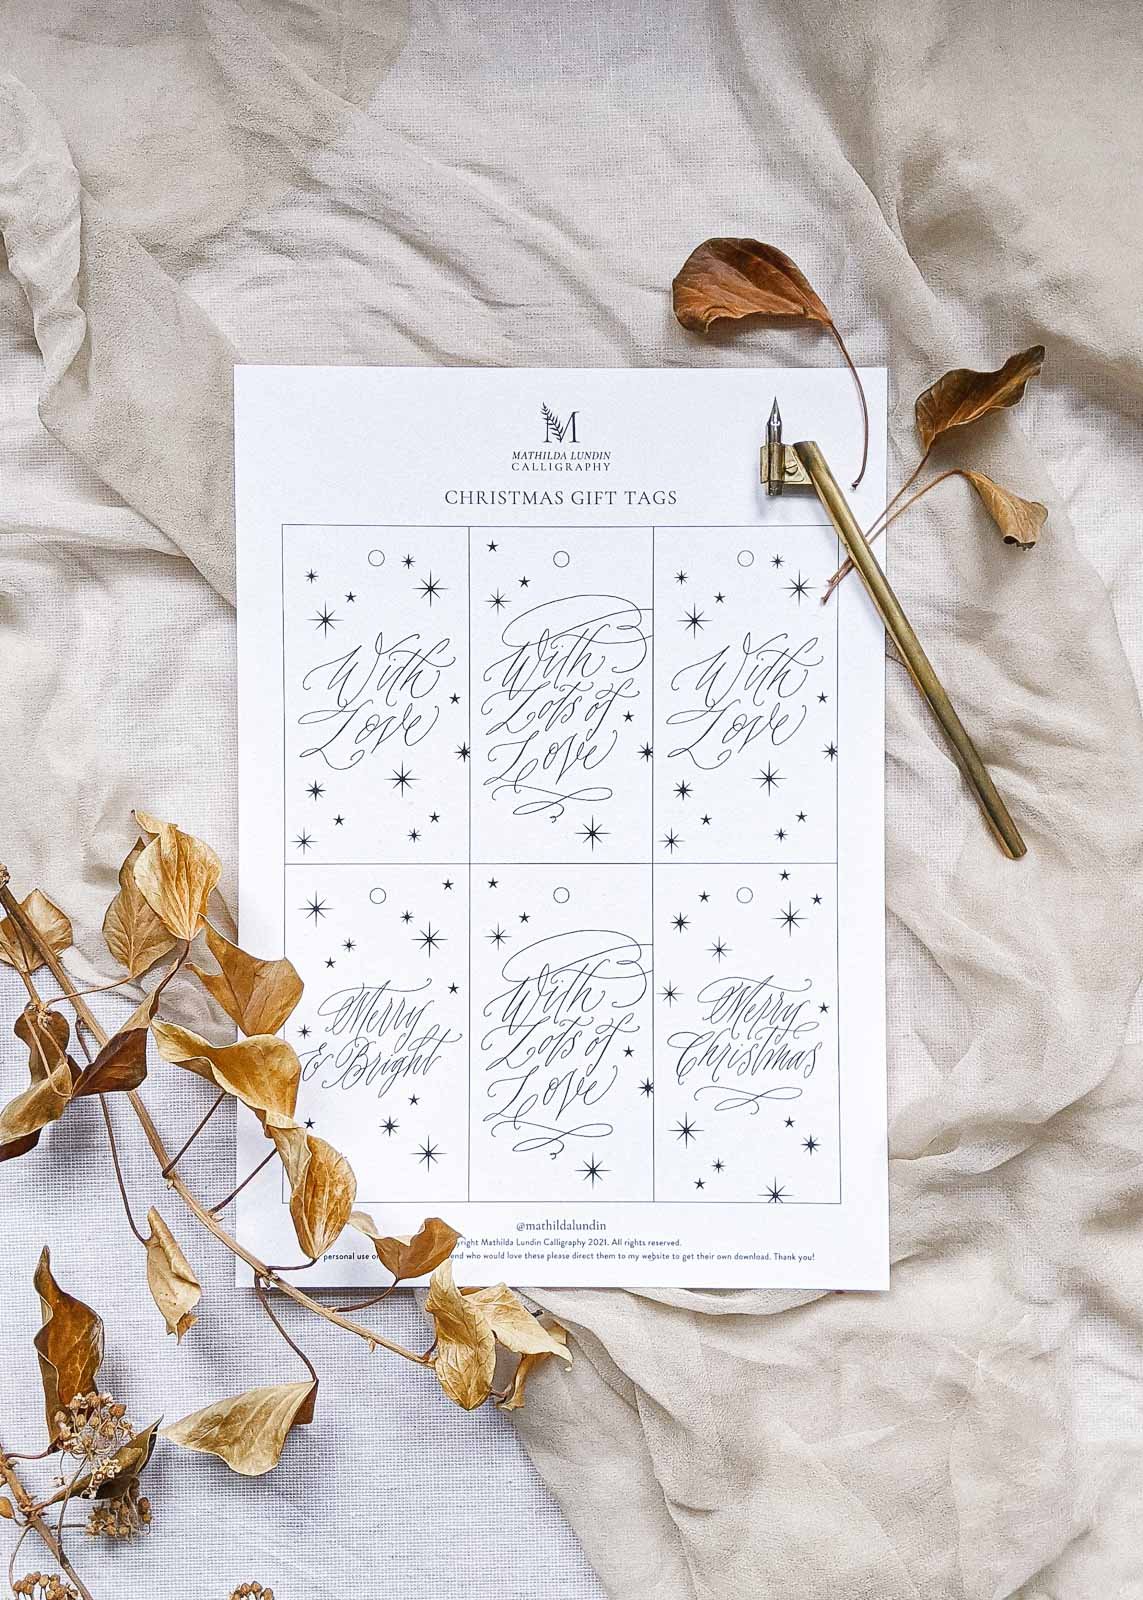
This year I’ve put together some new calligraphy gift tag printables that you can download and use for your gifts by clicking the link at the end of this post. They’re created with a nib and ink and some added star details.

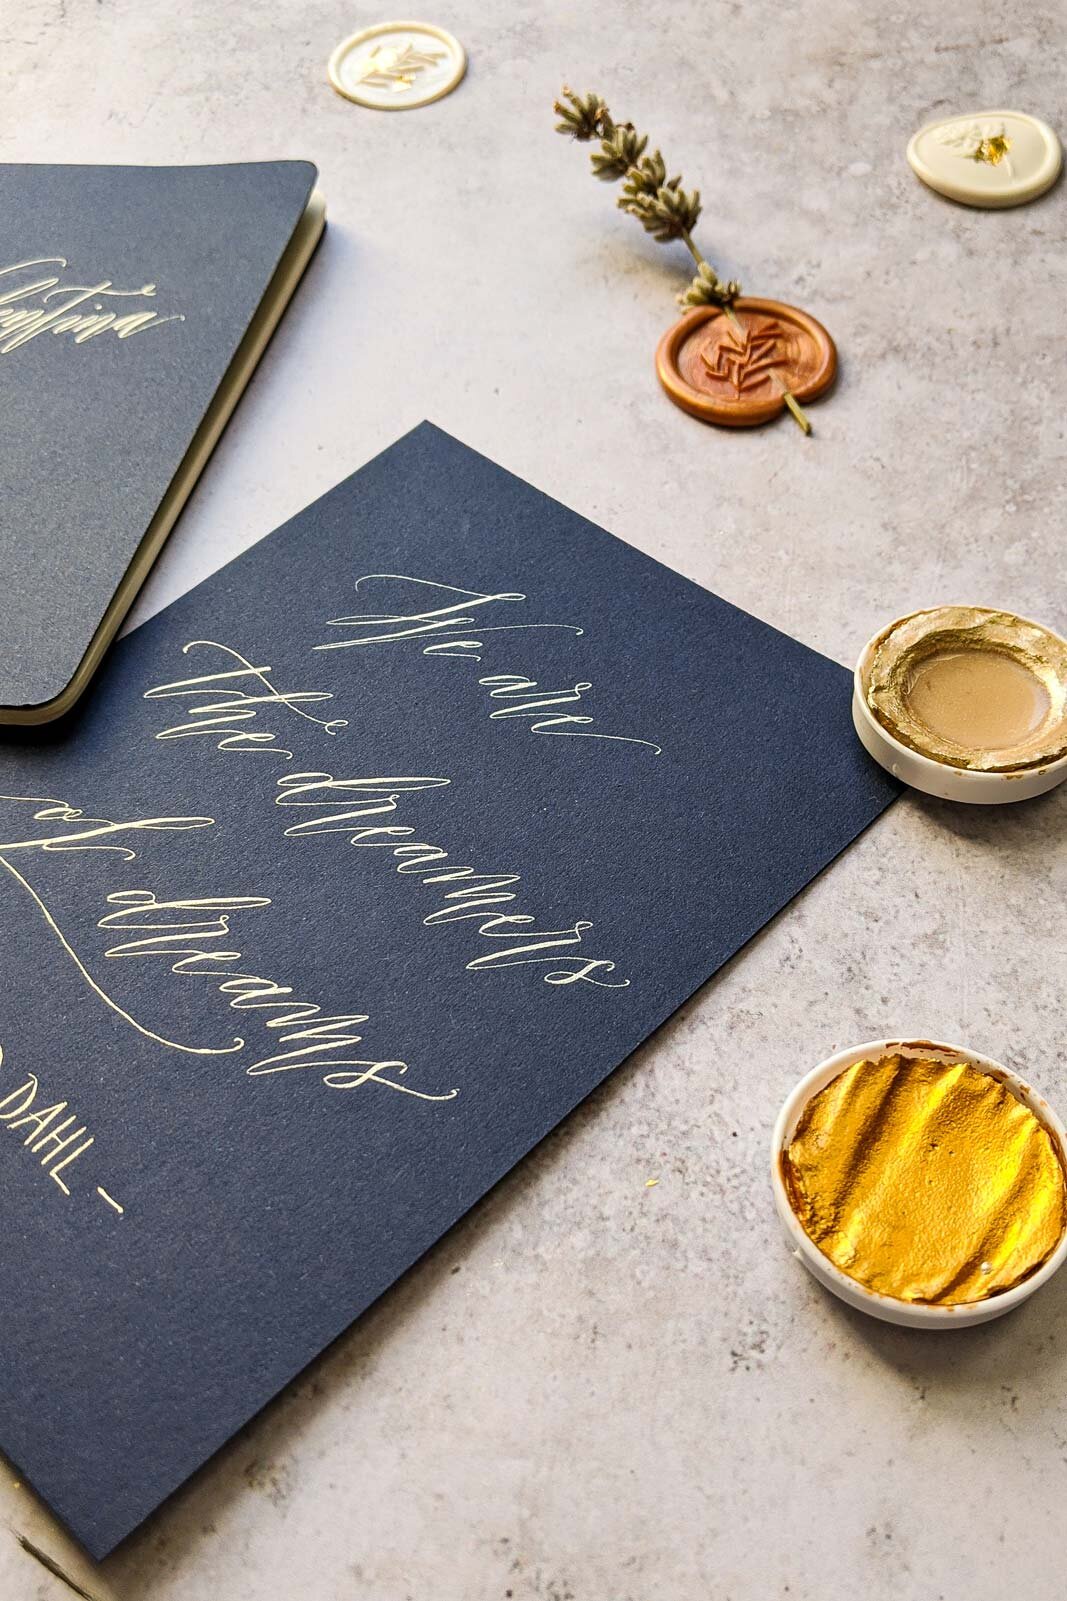
I also love making my own wrapping paper with calligraphy, this year I’ve gone for gold on white but I also adore using brown paper. I have a tutorial on how to create your own calligraphy wrapping paper and ribbons here if you are interested in making your own.

Have the most wonderful Christmas and holidays with your family and friends. Also, if you upload any photos of your gift creations with the gift tags make sure you tag me as I’d love to see them! @mathildalundin

Merry Christmas!

Mathilda x

WHAT YOU'LL NEED

  • Printable download (you’ll find this at the end of this post)

  • White (or other light) card stock of choice (I like to use something a bit heavier to add a bit of sturdiness to my tags, approximately 200 - 300gsm)

  • Computer & printer

  • PDF viewer (e.g. Adobe Reader)

  • A hole punch

  • Ribbon or twine


STEPS

  1. Download your gift tags and open up with your PDF viewer

  2. Print out the gift tags on A4 or US letter paper. I like to use a matte paper stock between 200-300 gsm and feed through the fine art front tray of my printer. Make sure to have a look at what tray and thickness is suitable for your printer and that your print quality is set to 'high'.

  3. Using scissors, a scalpel or guillotine, cut around the line on the outer edges. I like to use a scalpel and metal ruler on a cutting mat.

  4. Punch a hole in the top of the tag where the circle is, write a special note on the back and attach the gift tag to your wrapped gift with a ribbon or twine.


Related posts

How to use the Finetec palette for pointed nib calligraphy

 If you're into Modern Calligraphy, and have been looking for something to give your work that extra sparkle, you've probably come across the stunning metallic palettes by Finetec (sometimes knows as the new name Coliro). They have a beautiful range of colours ranging from gold to silver to beautiful rose metallics. With their ingredients of gum arabic and mica-pigments they come out beautifully opaque on both light and dark surfaces. 

But here's the thing that might seem tricky at first sight. They're neatly packaged in little palettes, that looks more like watercolours than a ready to use ink. How do you get the ink from the palette onto your nib without dipping it? Don't worry, it's a bit more of a process than a ready to use ink. But the results are absolutely stunning and well worth the extra effort.
 

Here's what you'll need

  • Finetec colour of your choice

  • Your favourite nib and penholder

  • A small brush

  • A jar of water

  • Some paper to write on

 
mathilda-lundin-finetec-palette-calligraphy-tutorial-tools.jpg
 

First you add some water to the pigment, let it sit for a couple of seconds or so to let it soften up a bit. After that you want to start to gently mix the water with the pigment. You're looking for a milky consistency (on the top layer, the pigment below is still solid). I usually go between my water jar and the palette a few times. If the ink isn't flowing smoothly I add more water. If I end up with a too watery consistency I just let it sit for a while and let the pigment go back to a more solid state. So experiment and see what consistency works for you. 

When you're happy with your ink mix you load up your brush and gently paint on the ink on the underside of your nib. Make sure to fill up the reservoir by looking at when the hole is completely covered with ink. And that's it, you're ready to do some sparkling beautiful calligraphy!

Hope you found this tutorial helpful and please feel free to share it with anyone you think might find it interesting and inspiring.

Experiment, have fun and write something beautiful! And please tag me on Instagram (@mathildalundin) to show me what you've created xx

Pin for later

 
mathilda-lundin-finetec-moon-gold-pointed-pen-calligraphy-tutorial.jpg
 

Related posts

Festive place cards with wax seals and ribbons


One of my favourite things about this festive time of year is all the excuses it provides for us to make beautifully calligraphed gift tags and place cards. I'm currently obsessed with my new wax seal from Stamptitude (also, how can you not love that name?) and black wax from Granit. So I decided to use them to create some place cards for New Years. Including one for our little kitten as well of course. Does this officially make me a crazy kitten mama? The little ribbon makes them perfect to add around each guests napkin at the table. 

So let's get to how to make these! 


You will need

  • Thick paper

  • Wax seal

  • Wax

  • Ribbon

  • Something to write with (I used a Nikko G nib with an oblique penholder and sumi ink)

Plus optional sweet treats. I say optional but I’m pretty sure it’s scientifically proven to help with your crafts. I chose mince pies purely because they’re pretty. 

 
christmas-placecard-1.jpg

Step 1

Melt your wax.

christmas-placecard-2.jpg

Step 2

Attach the ribbon to the paper with your wax and stamp it with a pretty design.

christmas-placecard-3.jpg

Step 3

Write the name or message on your tag.

christmas-placecard-4.jpg

Step 4

Make someone happy (Alex enjoyed his more than Freja did). Relax and enjoy your well deserved treat.

Hope all of you have a lovely New Years Eve! 


Related posts