How to design your own elegant Christmas gift wrapping with calligraphy
As Christmas is drawing closer I find myself thinking more and more about what to give to my loved ones, and the gift wrapping that comes with it. My grandma would always use the most beautiful old wrapping paper that she collected, and every year I would take my time opening the gift from her with thought and care. Because it’s just something about beautiful gift wrapping that makes the act of giving feel even more special to me.
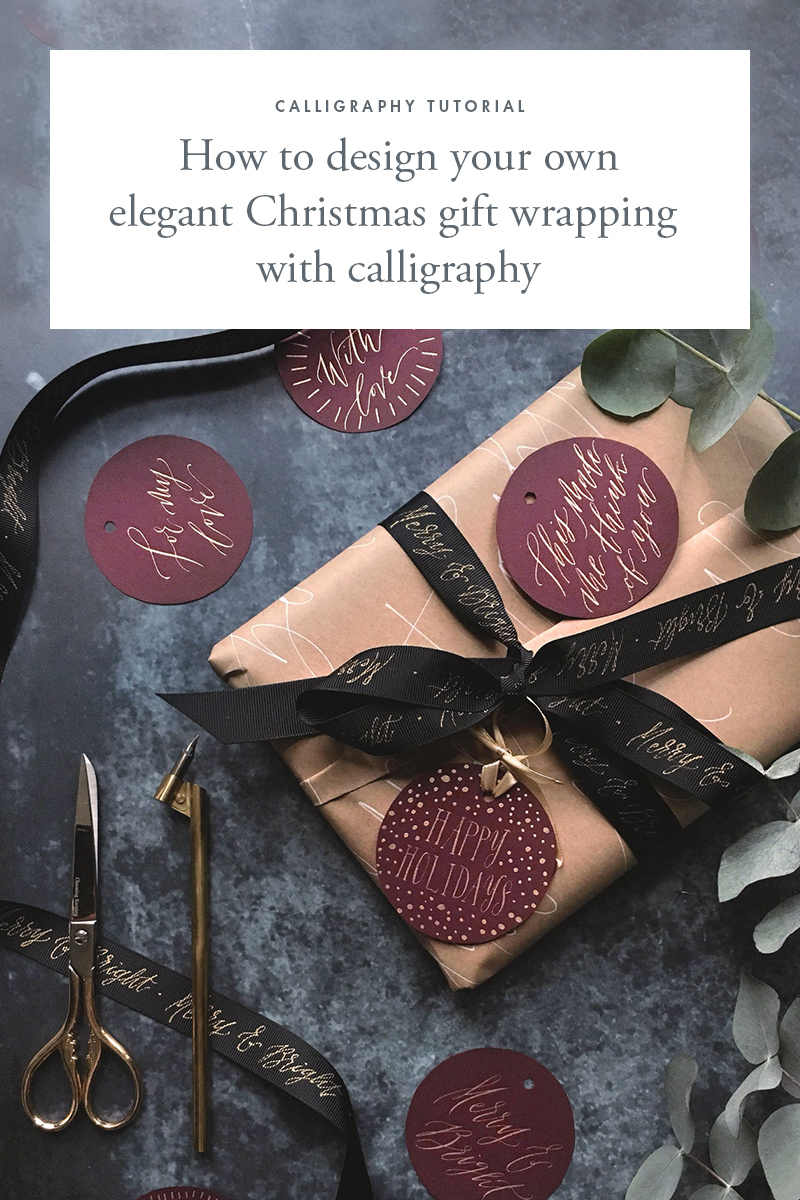
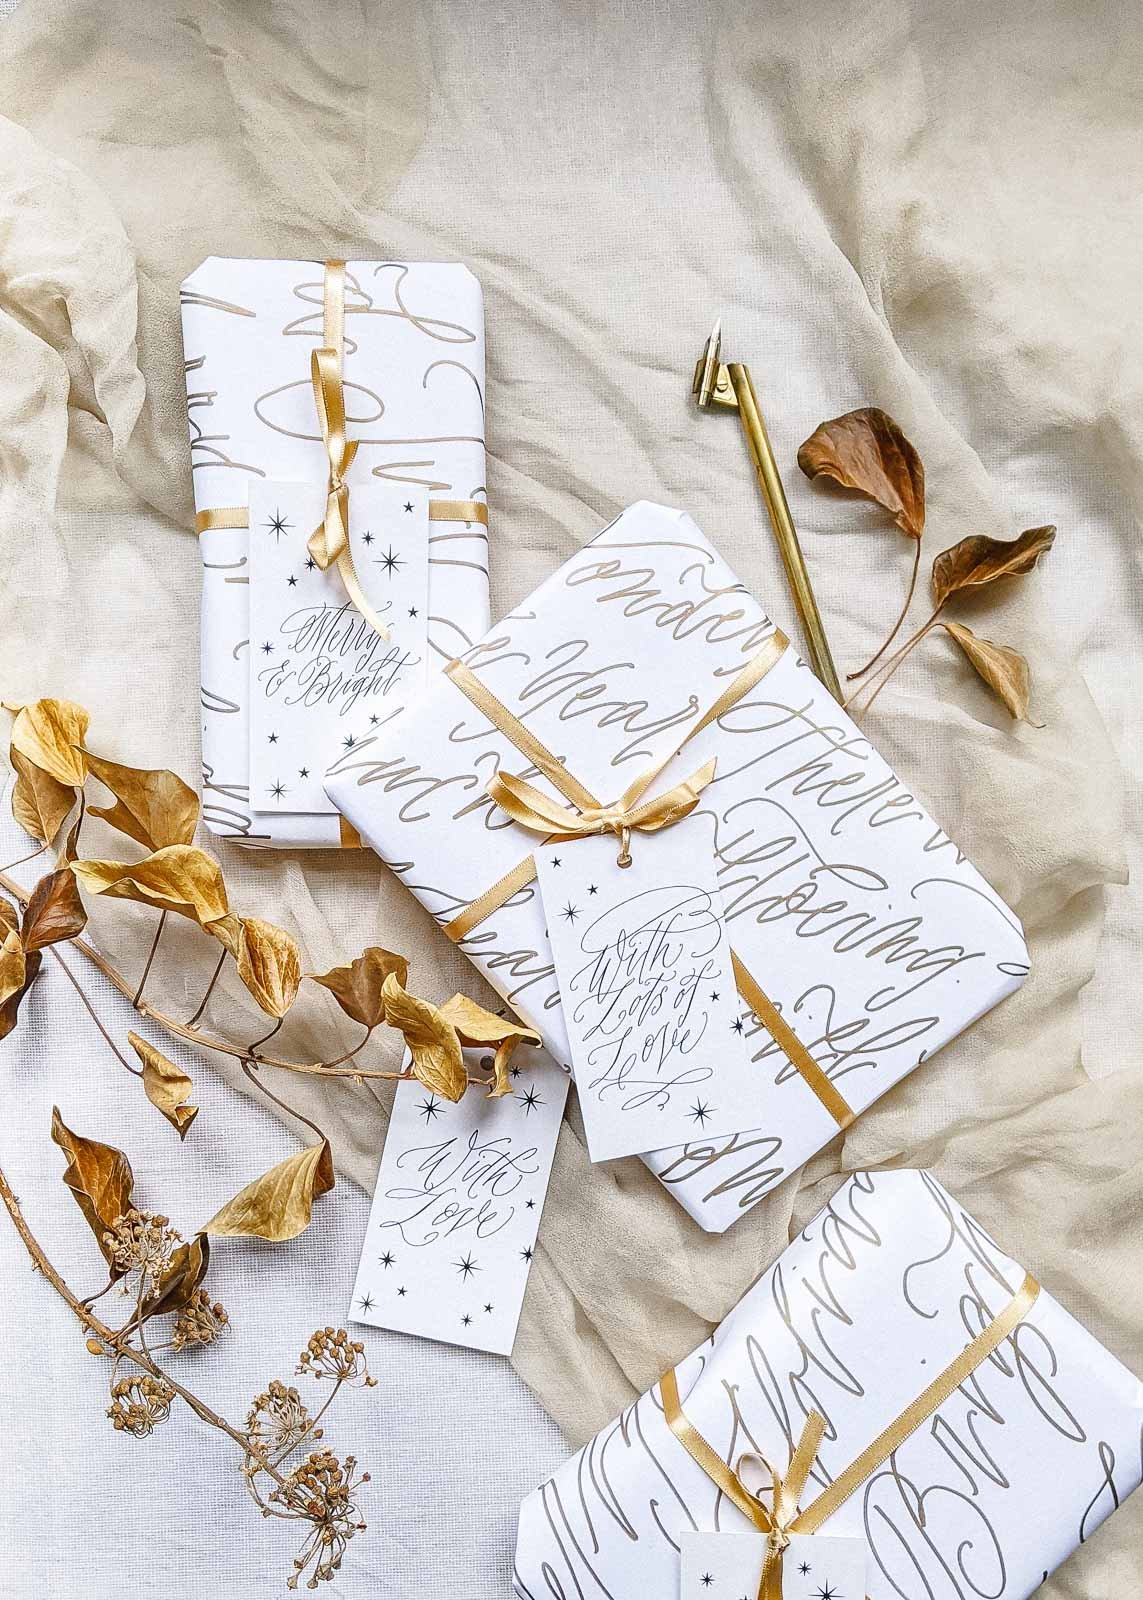
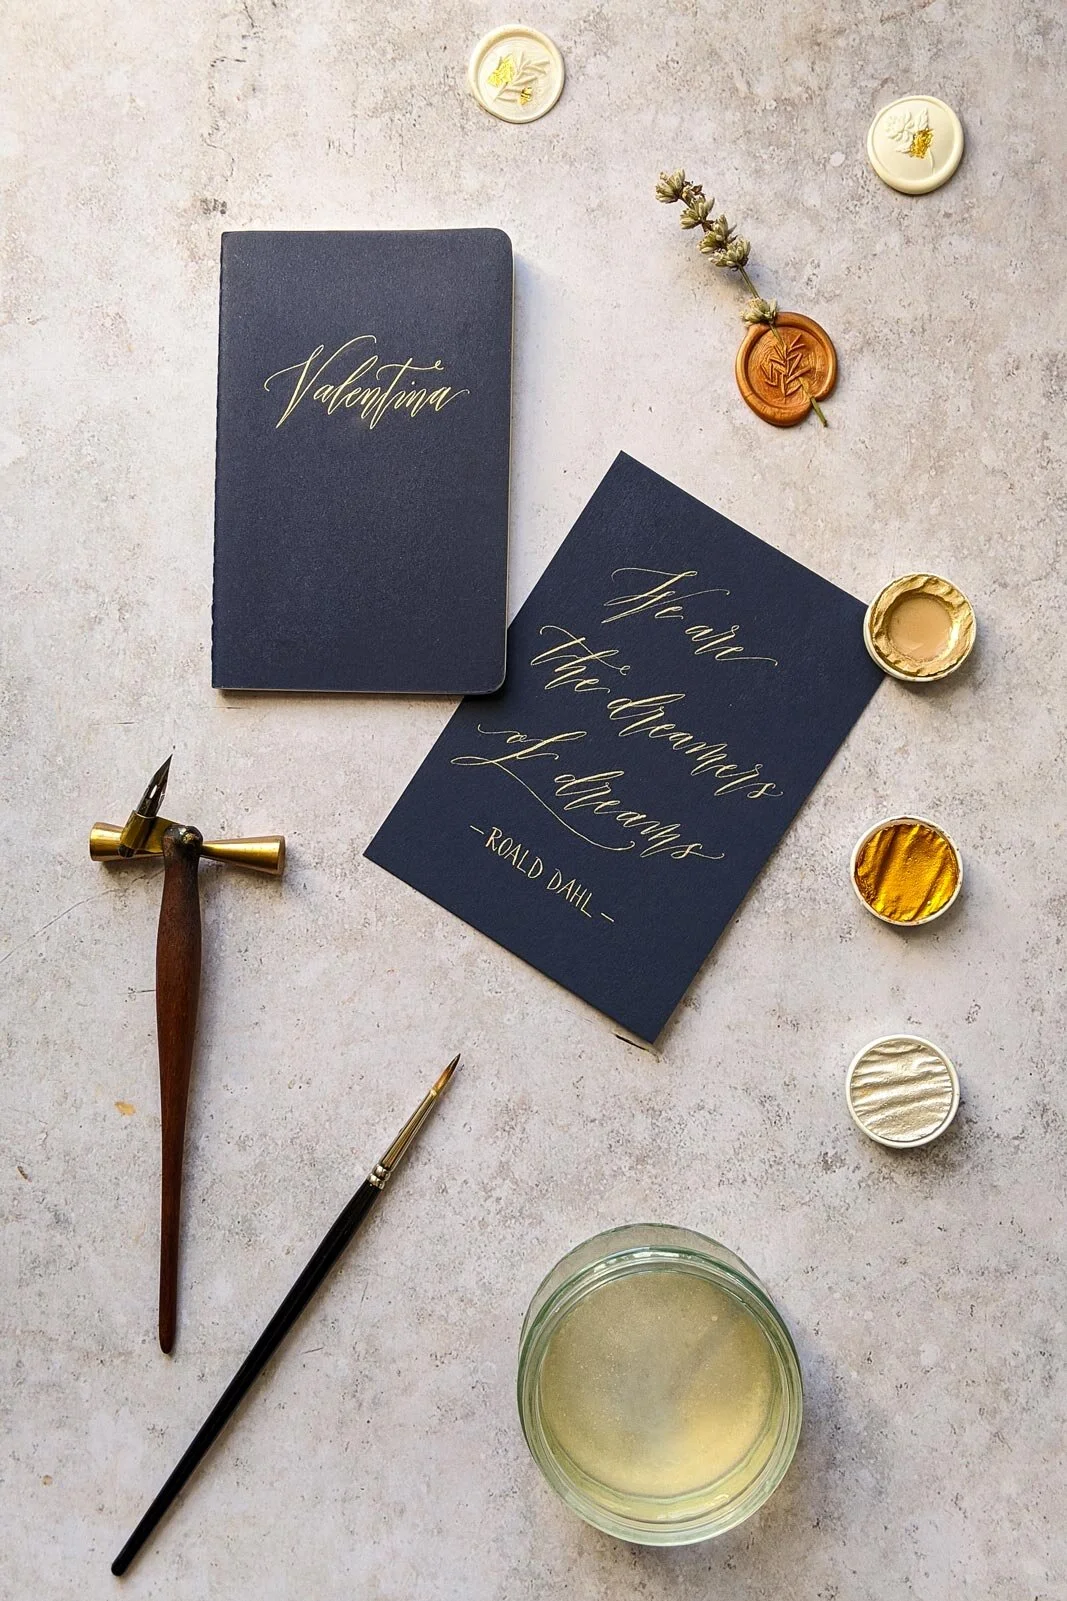
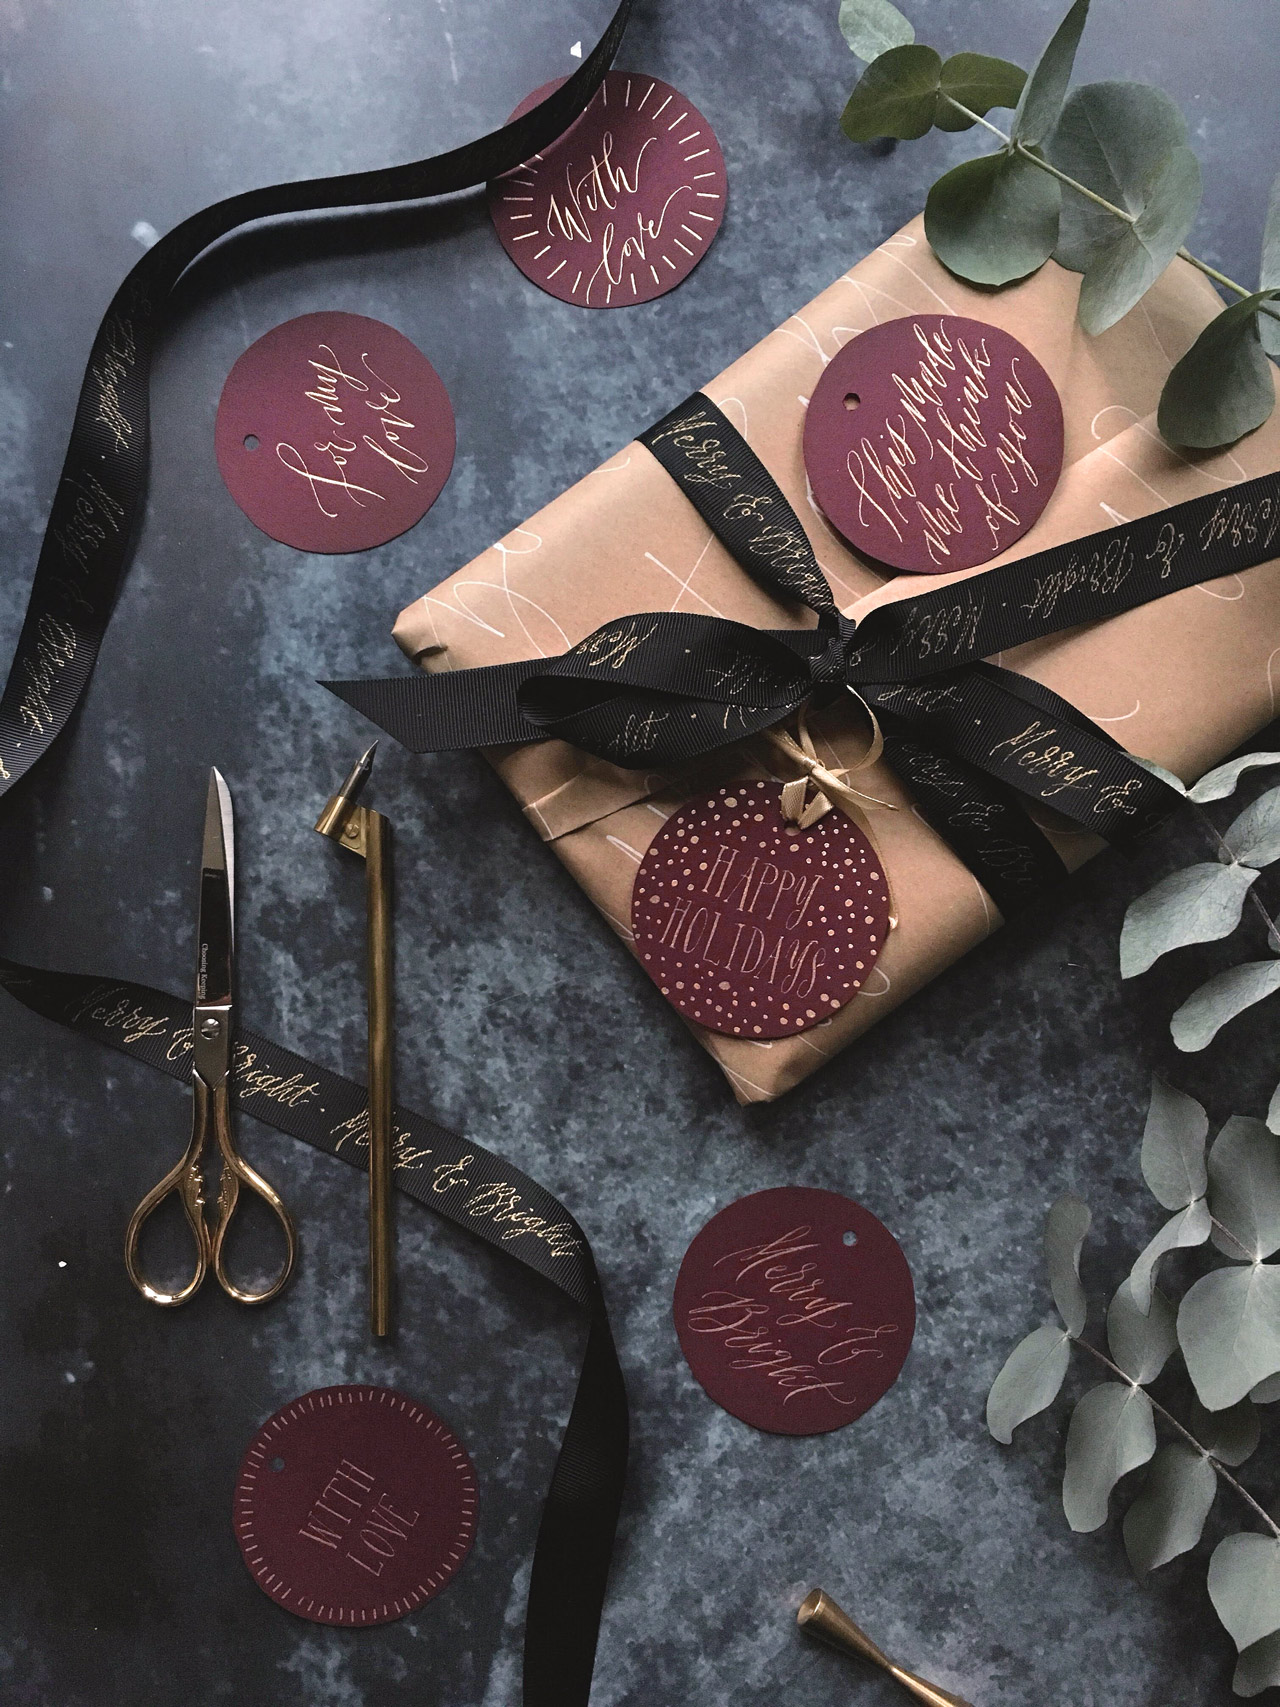
Now, I don’t have any beautiful vintage paper lying around so I decided to make my own Christmas gift wrapping by adding calligraphy details to, well, everything. I added big and expressive calligraphy on brown wrapping paper, gold lettering to the ribbons and finished off my gift wrapping with round gift tags with festive metallic ink. And I captured it all in this tutorial if you want to create your own calligraphy Christmas gift wrapping.
Tools
Thick paper stock in a beautiful colour for your gift tags
Brown kraft paper
Wider ribbon for you to write your calligraphy on
Thin satin ribbon to attach your gift tag
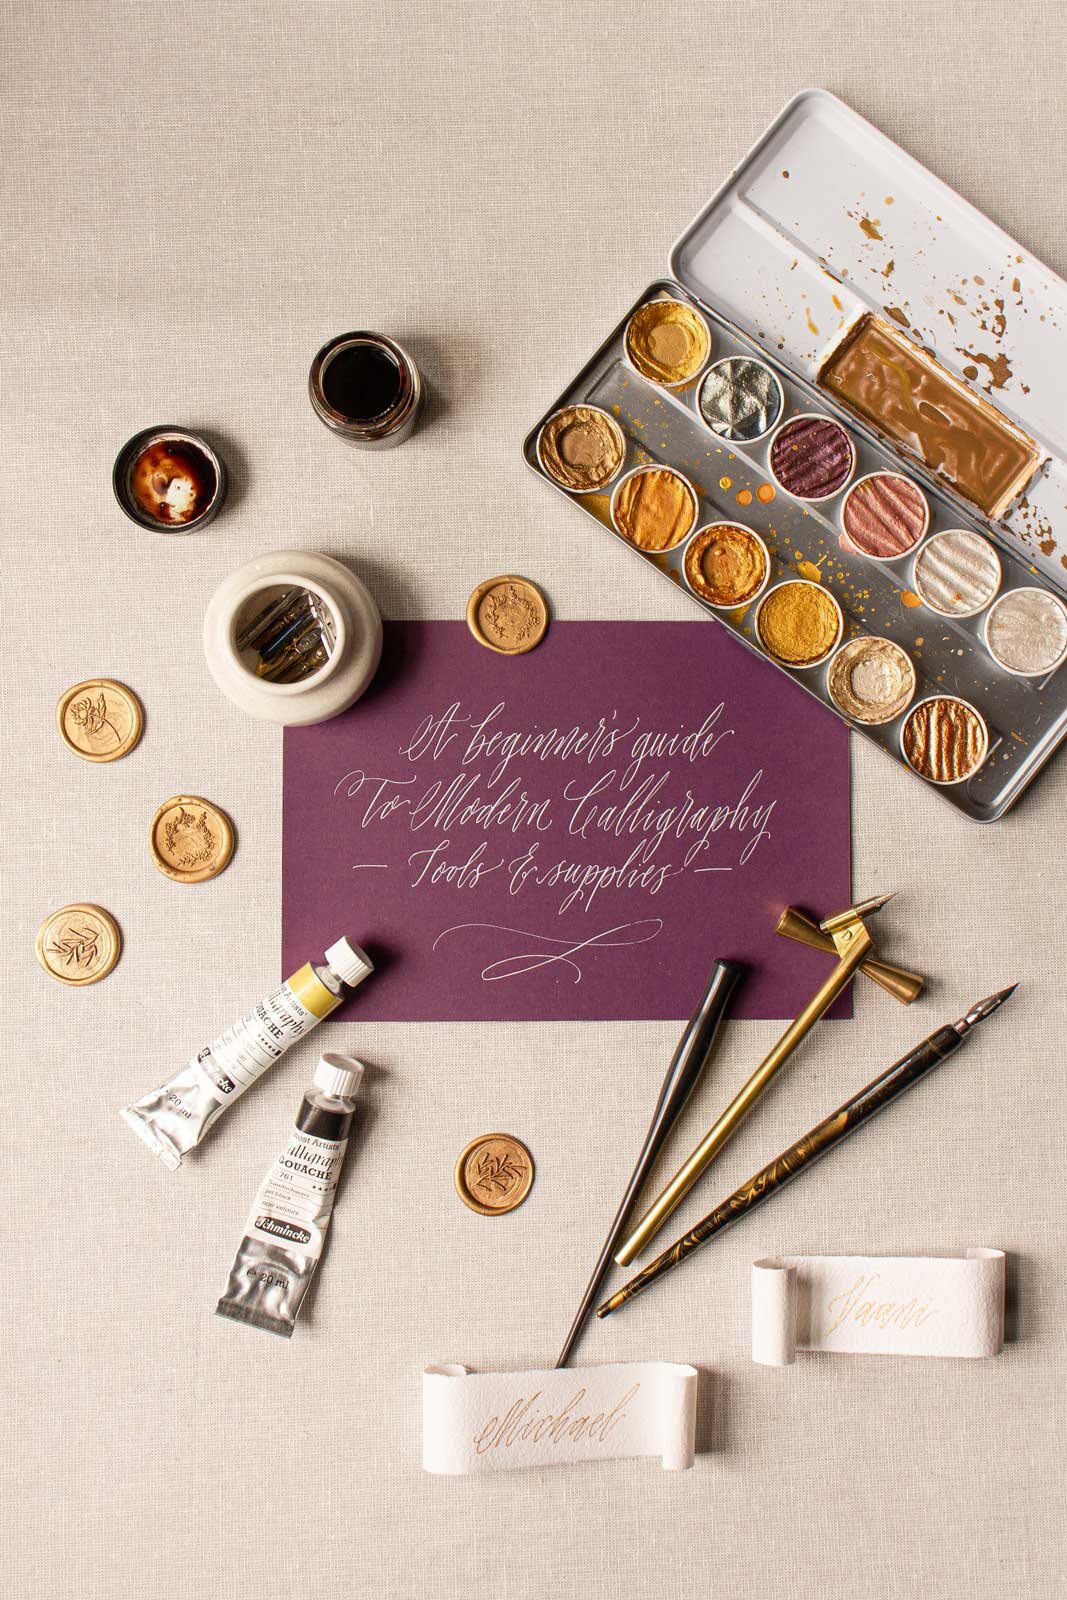
Your choice of calligraphy nib and pen holder
Metallic ink. I used Moon Gold from the Finetec Pearl Metallic inks palette (one of my favourites) which I have written a guide for how to use here.
Metallic and/or white paint markers to write on your ribbon and kraft paper (I love the Sakura Pen-touch metallics and the white Molotow acrylic marker)
Scissor
A hole punching tool

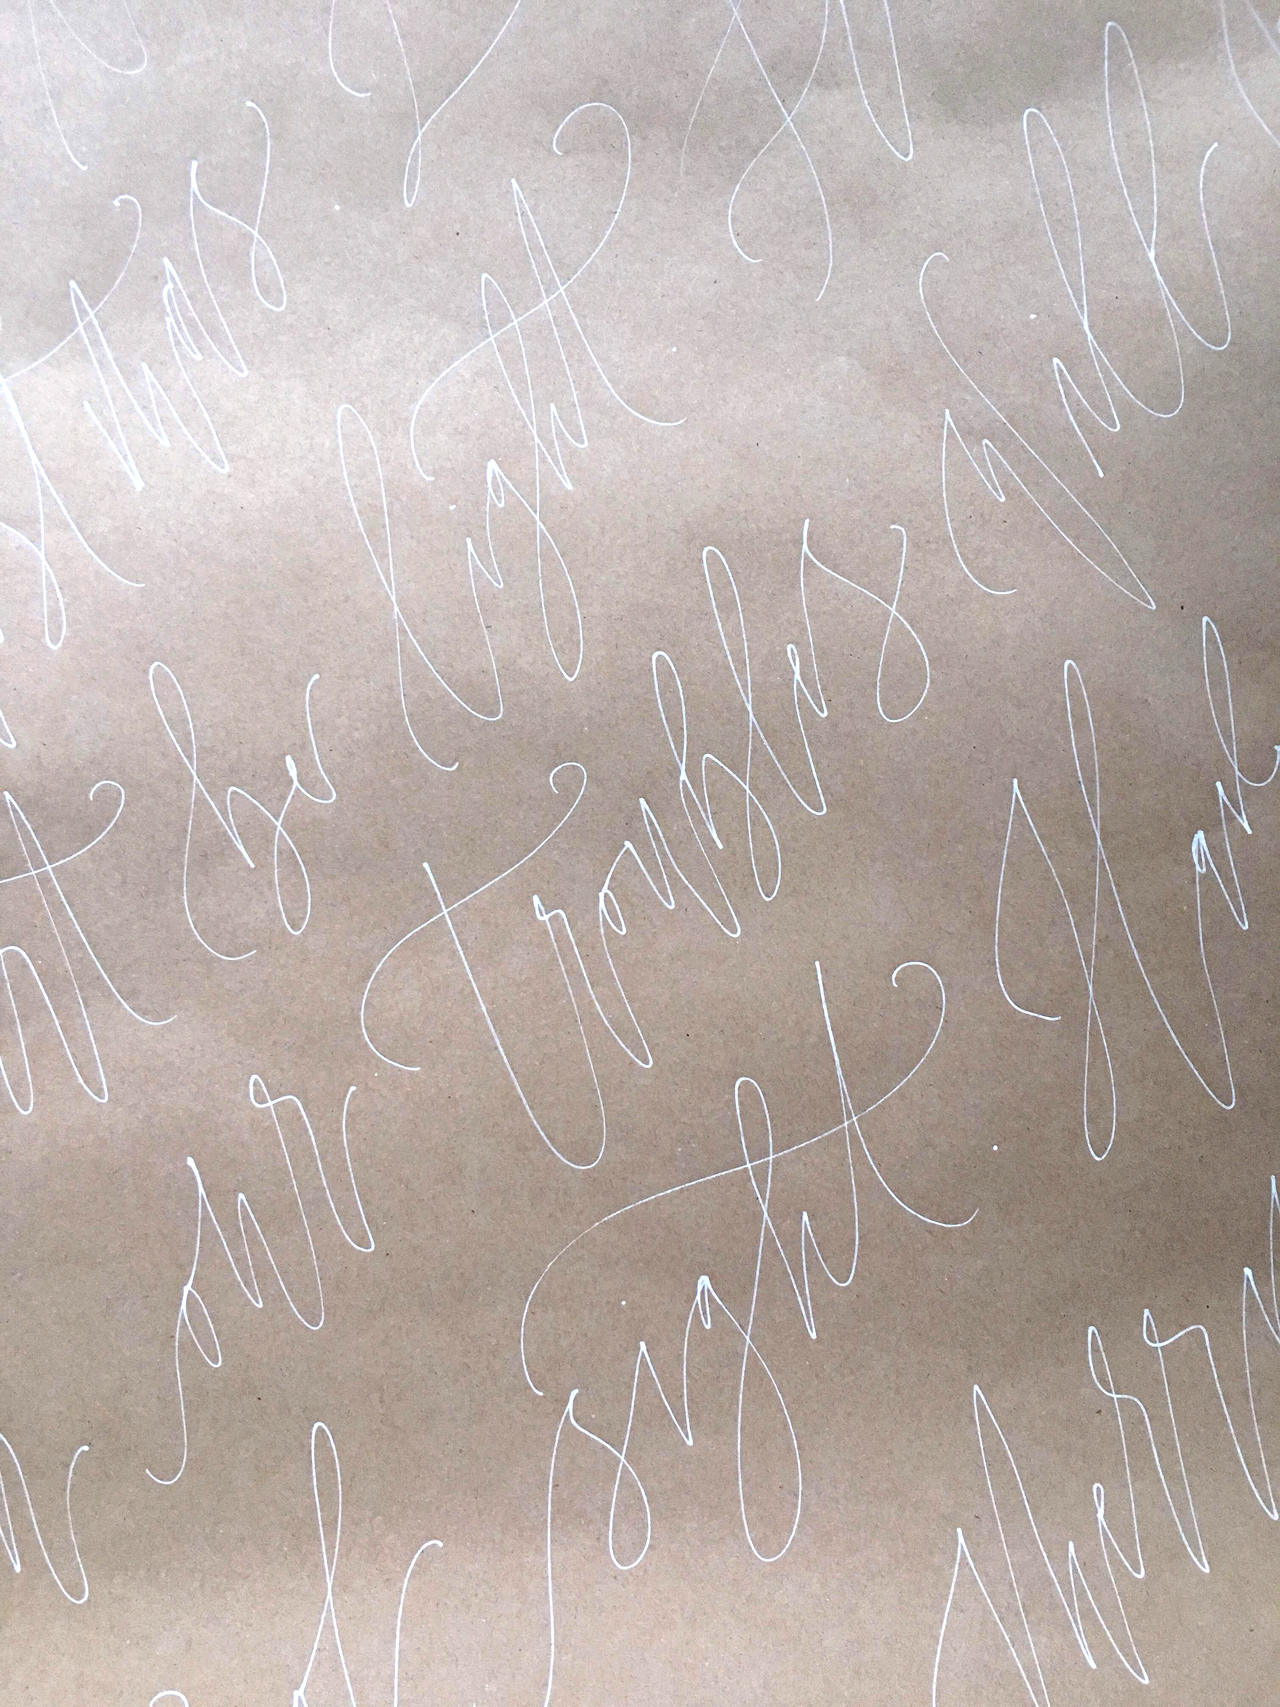
The wrapping paper
If you want to this really neatly I would encourage you to measure out a large enough piece of the kraft paper to cover your gift, draw faint lines with a ruler and do the monoline calligraphy with your paint marker. I decided to be a bit more loose and expressive, looking at the overall effect rather than each individual word and line. So I simply rolled out a piece paper and went for it. Go for what suits the style of your lettering best and what you feel the most comfortable with.


The ribbon
Try to weigh down one end of your ribbon by placing a heavy object on it, keep the ribbon in place with your other hand. This should help you to write smoother on it.


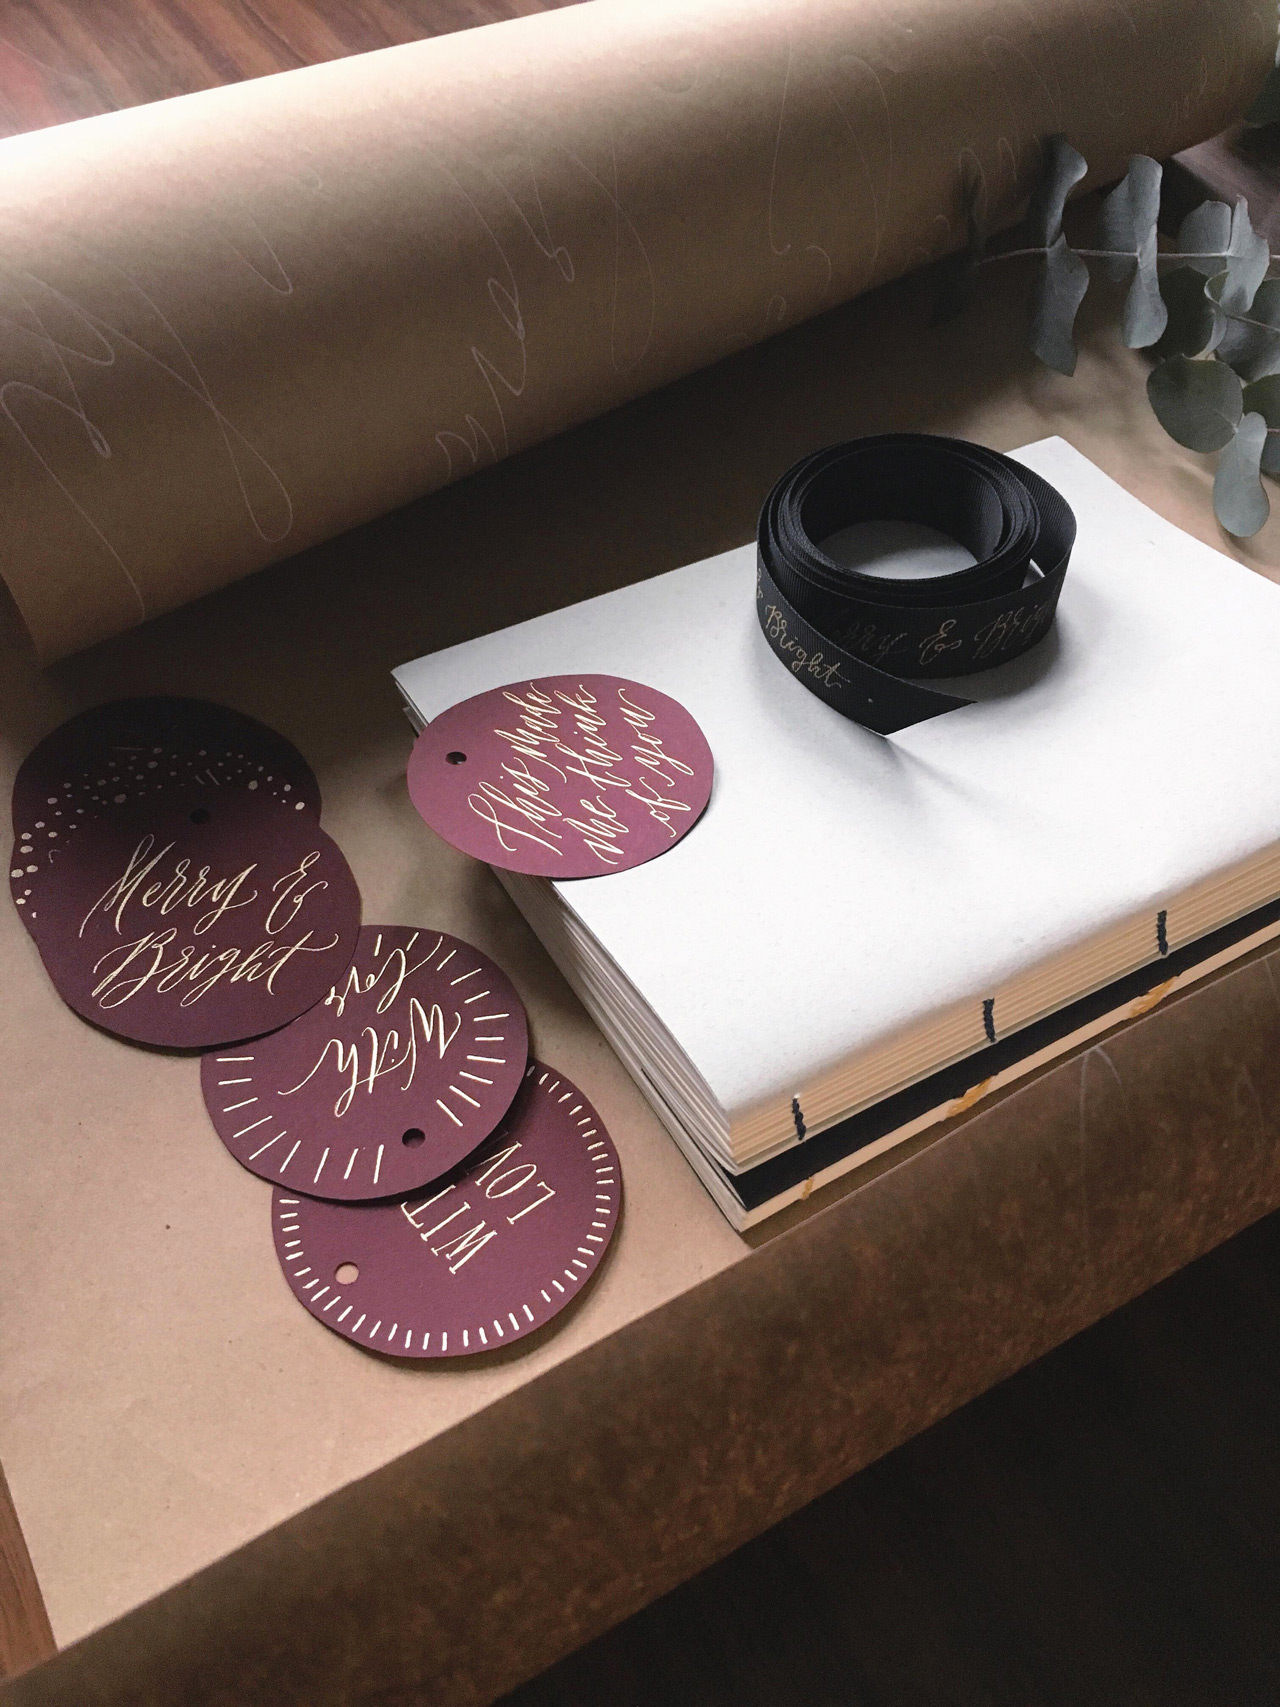
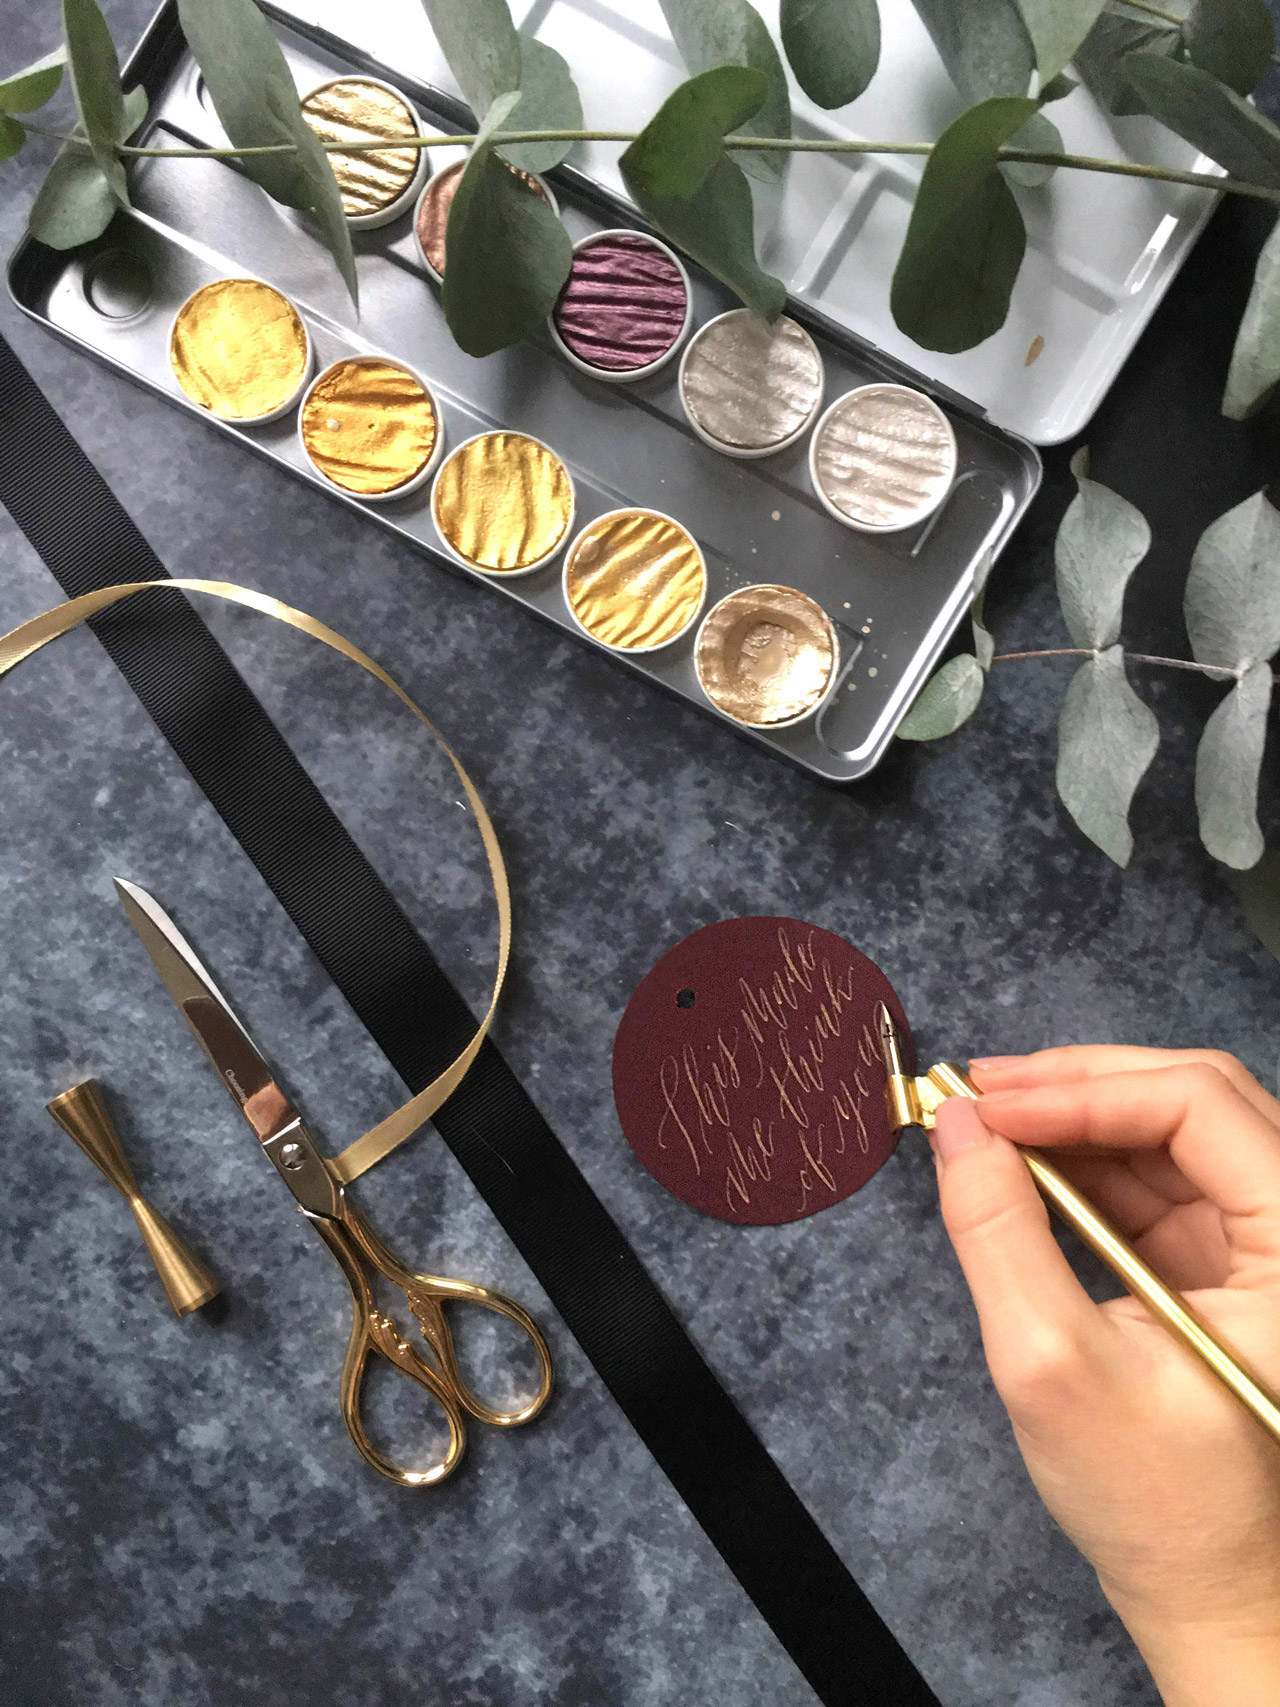
The gift tags
Start by drawing a faint guide for your tags, then cut them out and punch a small hole where the ribbon will go. Write your message beautifully with your calligraphy tools and metallic ink. Finish your tags off with a thin satin ribbon in a colour of your choice.

I hope you’ve found this tutorial inspiring and that you give personalising your gift wrapping a go. Let me know in the comments if you do or if you have any tips on how to get creative with your gift wrapping.
Mathilda x